UI animations, micro-interactions and interaction design are what give apps and web pages personality. Adding the right animations can make for a more delightful, functional or informative user experience. In this complete guide, I'll walk you through the foundations of UI animation and micro-interaction design, show you practical examples and give you a run-down of all of the tools and techniques you need to know to make the most incredible web and UI animations yourself!
2 Types of UI Animations
In web and UI design, there are two main types of animations:
Non-real time and Real time.
Non-real time animations occur after an initial trigger, and we're locked into watching that animation until it is complete. It has a set choreography that plays out from beginning to end.
Real-time animations (or interactive graphics) are when a user can directly interact with the animation, and it reacts to what they do. For example, this clever captcha screen that makes you catch flies before you can continue.
There are a few main use cases where we see animations being used in UI and web designs a lot:
In animated mockups - these are things that you might see on Dribbble or on social media or in marketing ads that are motion graphic representations of an app. These are not necessarily functional examples,but are usually made to illustrate a concept in an interesting way.
In prototypes - these can be simple screen-to-screen Figma interactions that have animated properties or more advanced multi-gesture and multi-input prototypes which are primarily focused on testing in the usability of your user experience. That might include some animated properties, elements, or transitions.
In live products - and these can be things like page transitions on websites, micro-interactions in apps, graphic animations on loading screens, or any combination of these non-real time and real-time animations.

So, let's get into how to actually create these yourself.
Step 1: Conceptualize and plan

Start with brainstorming your animation ideas. This could be in the form of a script, a task diagram, or storyboarding to get your animation ideas down. Think about the story you want to tell or the purpose of the interactions you want to create.
Step 2: Create and Export Graphics
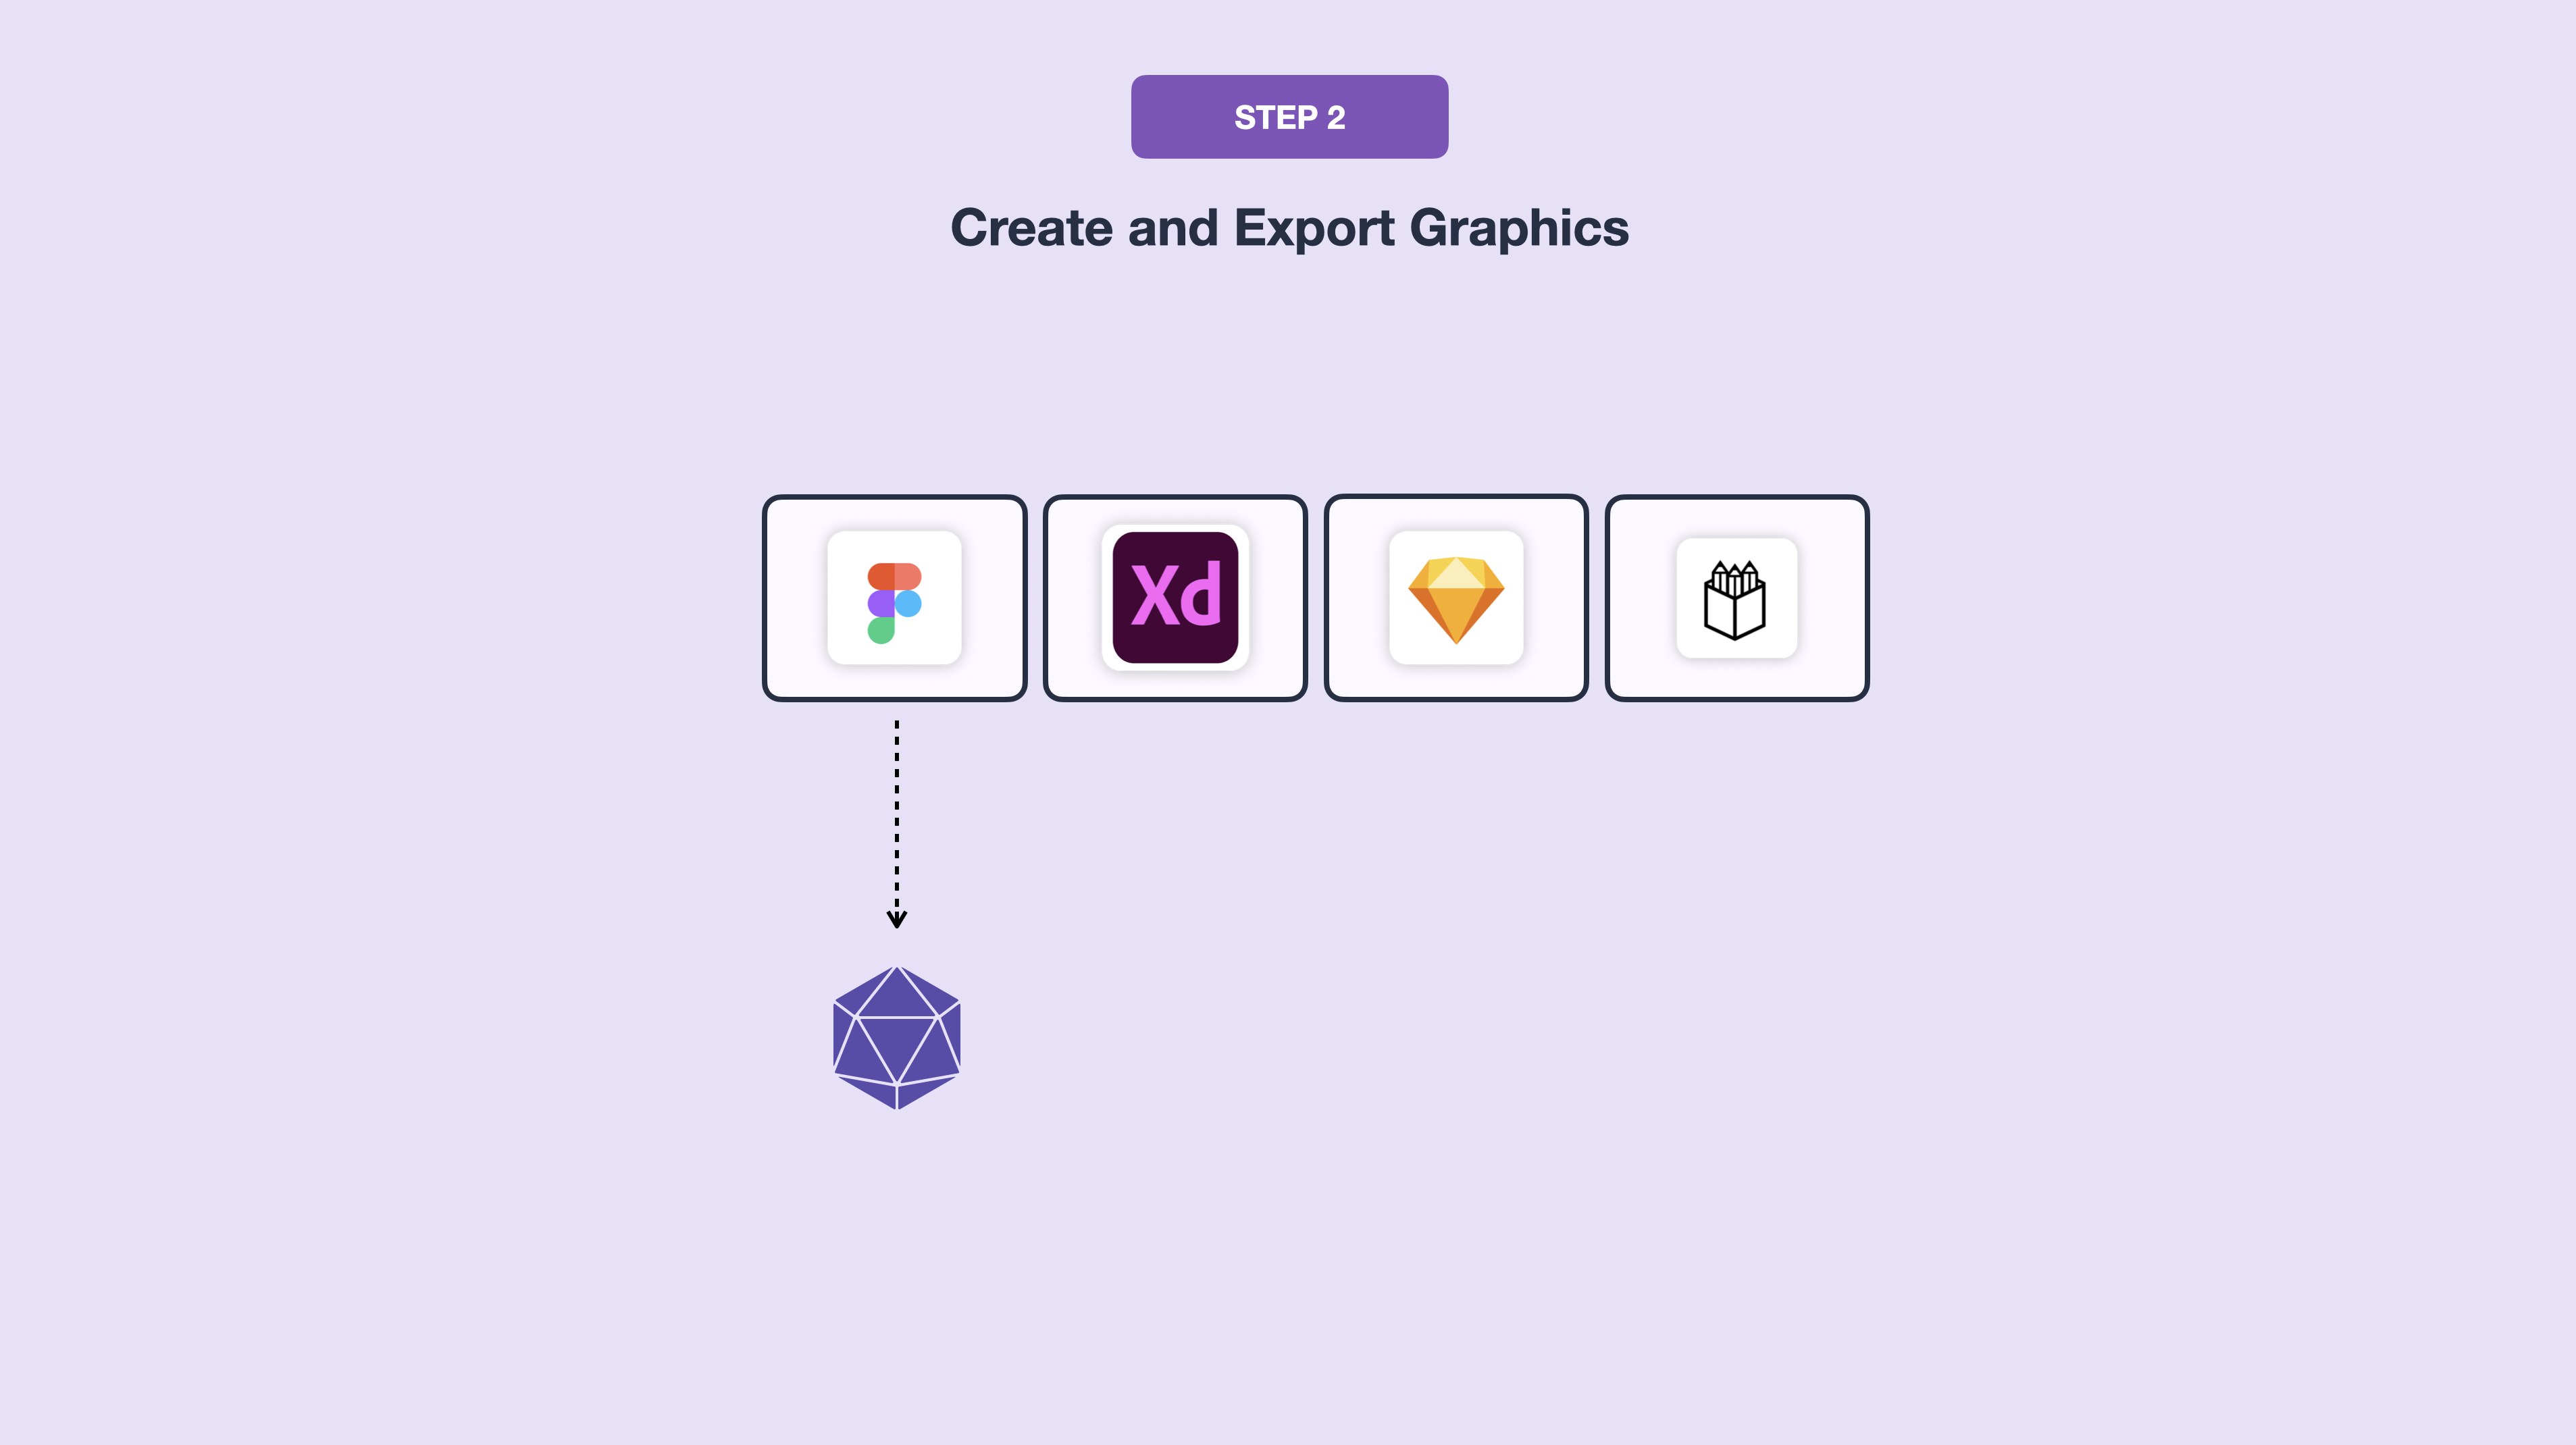
Next, you're going to want to create and export the graphic elements for your animations. This is where you would use a vector-based graphic design tool like Figma, Adobe XD, Sketch, or Penpot to design your graphic elements. Once you've done that, you'll want to export those graphics in the appropriate format for your use case. For complex images where transparency is needed, PNGs are the best. For scalability and manipulation in code, SVGs are the way to go.
Step 3: Choose an Animation Tool
Next, you're going to want to select the right animation tool for your needs. These tools allow you to control animation parameters and attributes like keyframes, adjusting timing and duration, or defining interactive triggers and responses.
Here is a table that I've compiled with the current modern animation tools that allow you to create everything from mockups to advanced multi-device prototypes. Each of these tools has its strengths and weaknesses. Some are better at non-real time graphics, while others are better at interaction or prototyping.
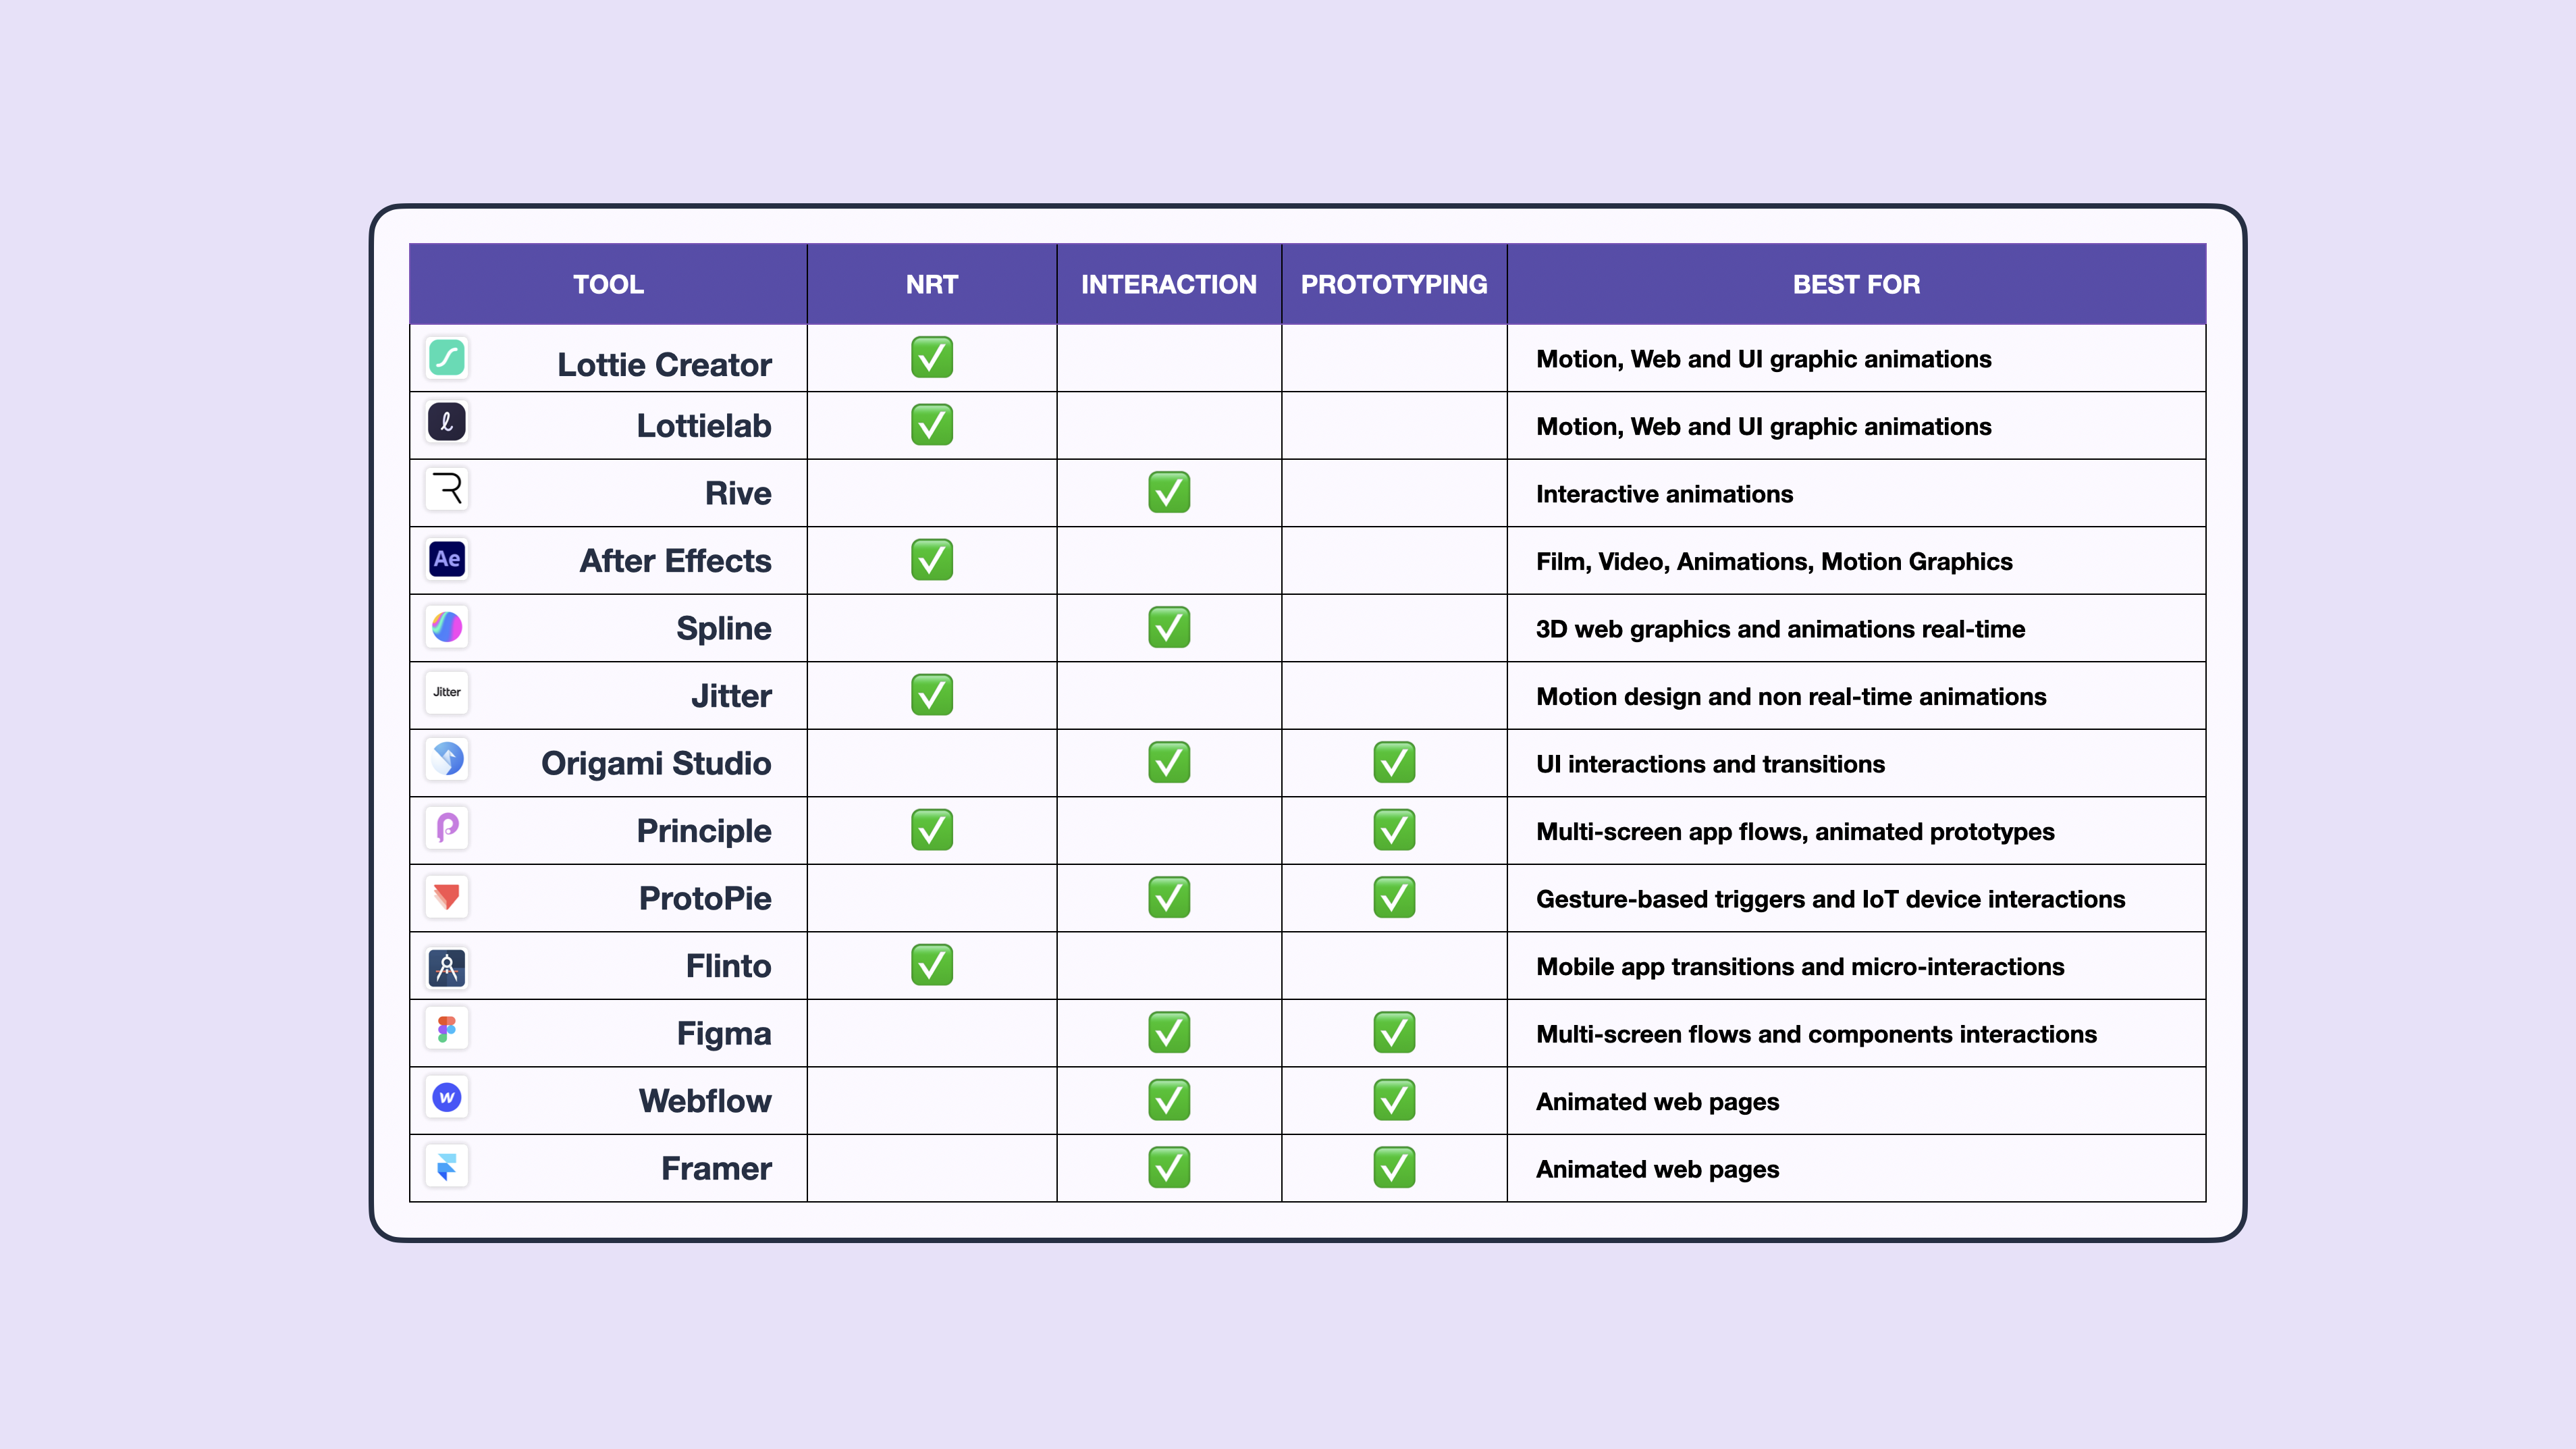
Top Modern UI, Prototyping and Animation Tools
Here is an on-going list of the modern UI design, motion and prototyping tools I use and recommend for different forms of UI animation, micro-interactions and motion graphics.
| Tool | BEST FOR |
|---|---|
| Lottie Creator | Motion, Web and UI graphic animations |
| Lottielab | Motion, Web and UI graphic animations |
| Rive | Interactive animations |
| After Effects | Film, Video, Animations, Motion Graphics |
| Spline | 3D web graphics and animations real-time |
| Jitter | Motion design and non real-time animations |
| Origami Studio | UI interactions and transitions |
| Principle | Multi-screen app flows, animated prototypes |
| ProtoPie | Gesture-based triggers and IoT device interactions |
| Flinto | Mobile app transitions and micro-interactions |
| Figma | Multi-screen flows and components interactions |
| Webflow | Animated web pages |
| Framer | Animated web pages |
| Canva | Animated marketing graphics |
Step 4: Project Setup
Now that you've selected your animation tool, you'll want to get familiar with the workspace and set up your first project.
Here in Rive, for example, you can browse through community files, you can watch tutorials and walkthroughs, and set up a project and start creating your animations.
Many of these applications are set up pretty similarly, with the layers panel and assets on the left, and the design and animation parameters on the right. And you'll also most likely notice a timeline at the bottom or a state machine like they have here in Rive.
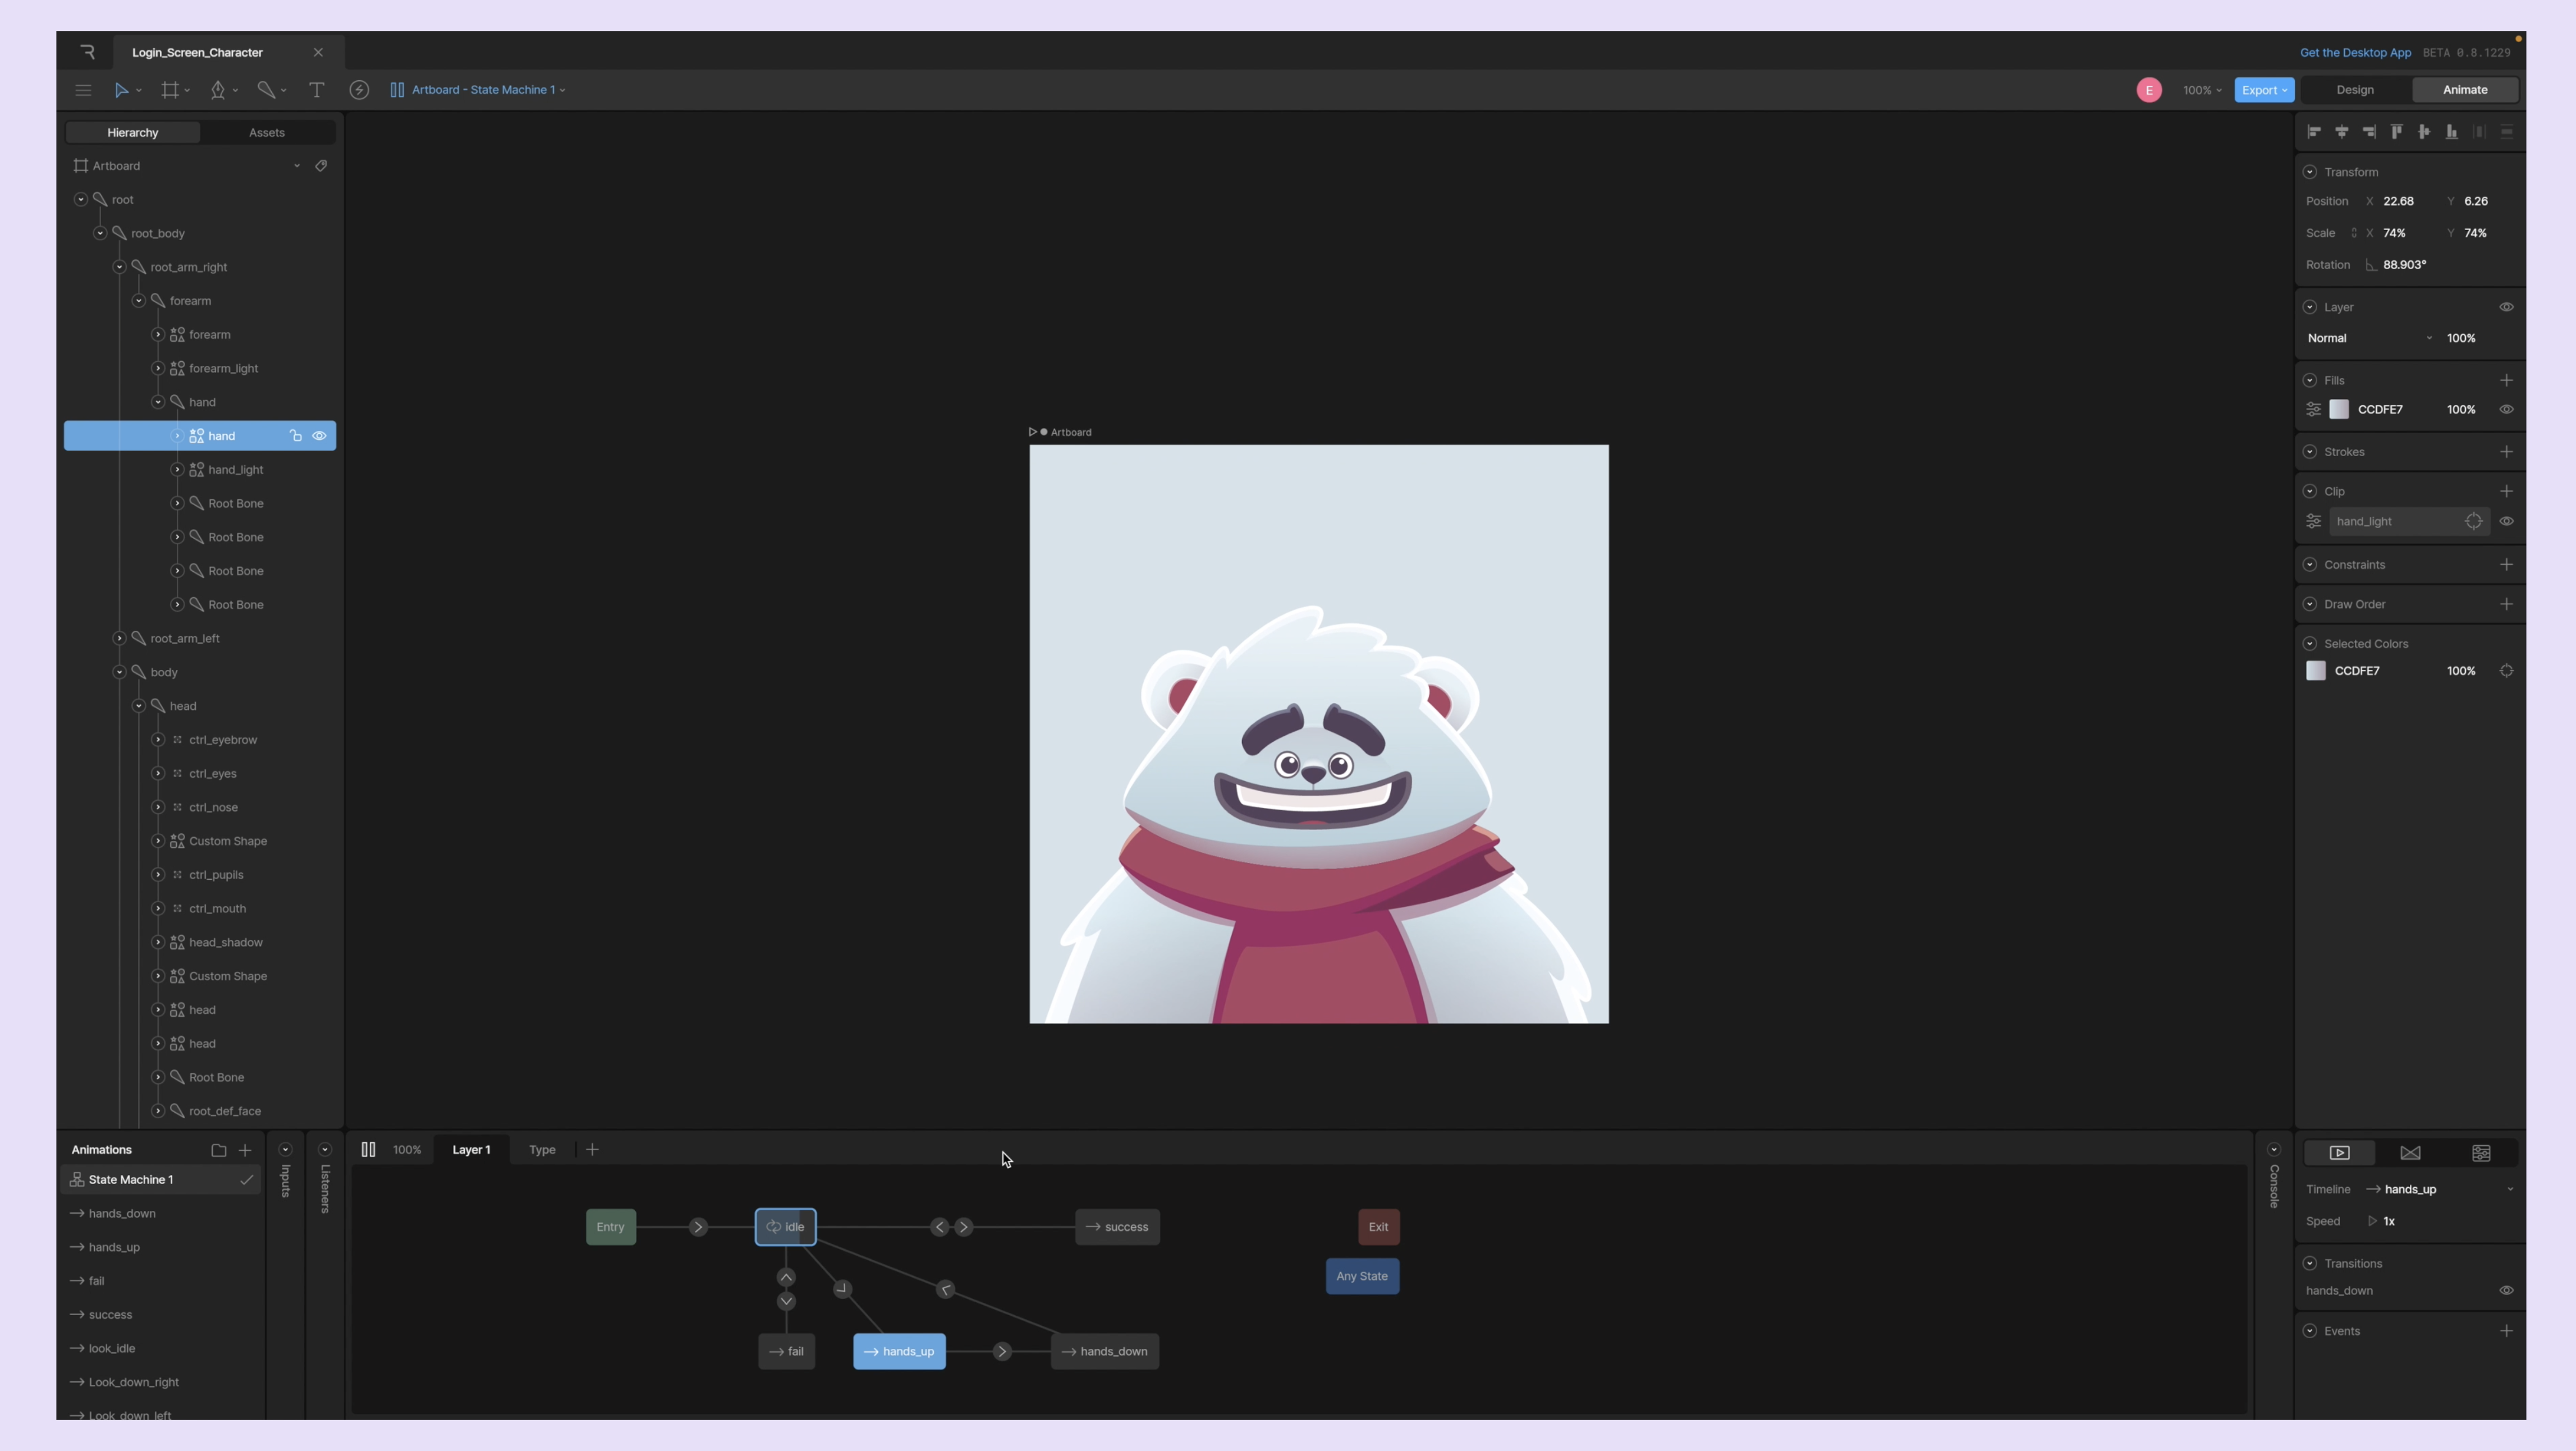
This is where you would import the graphics that you created earlier, animate them, and then program the conditionals and interactive states and responses that you want those animations to have.
12 Principles of UX Animation
There are 12 main principles of UX and motion that we can reference to decide what properties and techniques that to use to create the perfect animation:
- Easing - which adjusts the speed of an animation to make the movement feel natural.
- Offset and delay - which introduces different start times or speeds for elements to create depth and focus.
- Parenting - which connects elements together and shows their relationship.
- Transformation - which changes an element's size, shape, or other properties.
- Value change - which animates changes like numbers or progress.
- Masking - which reveals or hides parts of an element.
- Overlay - which places elements on top of others.
- Cloning - which duplicates elements.
- Obscuration - which uses elements to partially or fully hide other elements.
- Parallax - which moves the background and foreground elements at different speeds to create a sense of depth.
- Dimensionality - which adds depth to design by simulating a 3D space.
- Dolly and zoom - which simulates camera movements to focus on elements or change perspective.
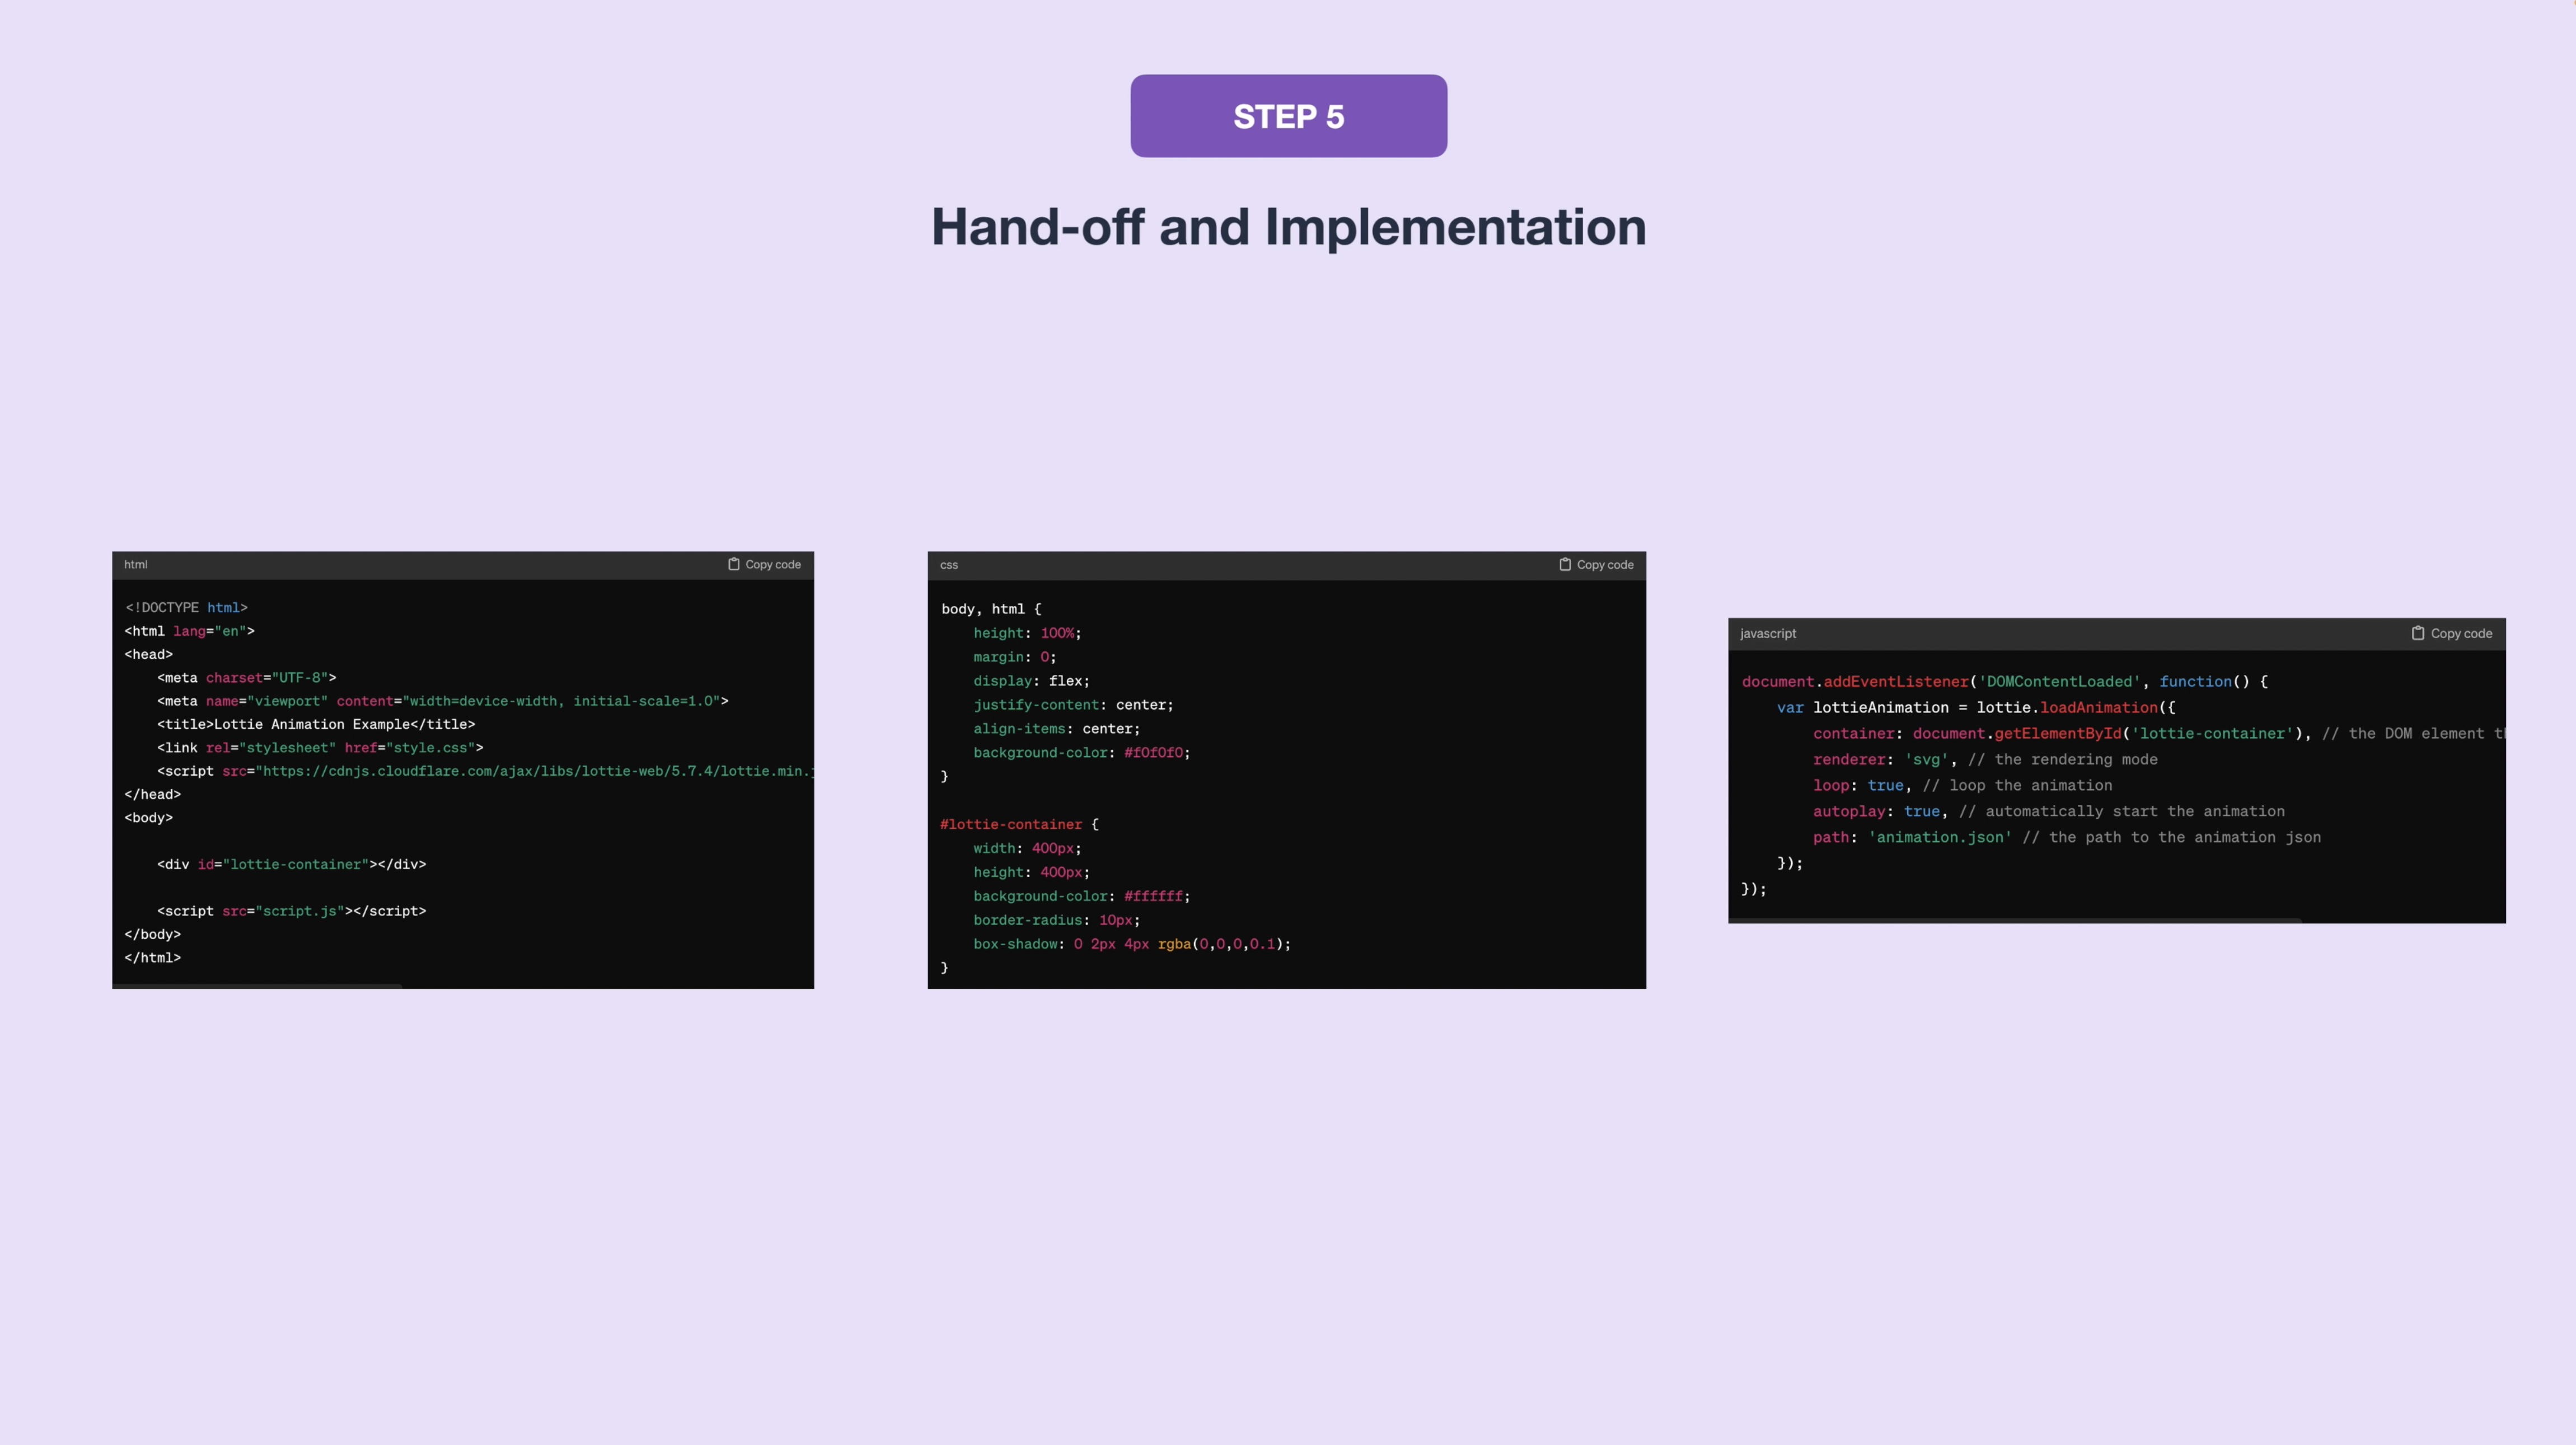
Step 5: Handoff and Implementation.
When finished, you can export the file format that you need, whether that's a video to share on Dribbble or the Lottie or JSON file to implement on your website.
If you're working with someone to integrate your animated graphics into a website or native app, you'll want to create documentation and specifications for the developer.
If you're doing it on your own, then you'll need to export the graphics to be embedded and prepare the structure of your HTML and CSS files to add in the code that will instruct your animations on how they should behave. For simple animations, you might be able to use just CSS.
For more complex animations and interactions, you can use JavaScript. You can also use any number of popular existing JavaScript and React animation libraries like GSAP, Anime.js, Three.js, or React Motion or Framer Motion, just to name a few.
A few important things to remember
- Don't go overboard. Most of the complex animations that you see are just for Dribbble and to showcase the animation skills of the designer or the product in a creative way. Implementing these can cause slower load times on websites, huge website files, as well as a lot of time to implement and create. So use your discretion.
- Always think about the different comfort levels. Consider the comfort and accessibility of those that might find certain types of animations and motions distracting or disorienting. Have an off switch or a fallback planned.
- Don't use UI animations just for animation's sake. Make sure you're being intentional and purposeful about them. Make sure that they have a reason, that they're cause delight, that they're functional, or that they're informational.
And that's it! You're now equipped to make some of the most impressive, eye-catching UI animations and interactions yourself. If you like this, like and subscribe and share it with someone you know.
If you enjoy my teaching style, consider enrolling in our complete product design course, where you'll learn end-to-end UX/UI design, including business and strategy, all with a mindful approach, at an affordable price.