Finding it hard to finish your UI/UX or product design portfolio? Not sure if you should make a website, a pdf, a slideshow or send via courier pigeon? Well, I'm here to break down the pros and cons of the different types of portfolio formats and show you why Notion App is one of the best solutions for doing them ALL! Well, except the pigeon, Notion doesn't do pigeons...yet.
Which way to go?
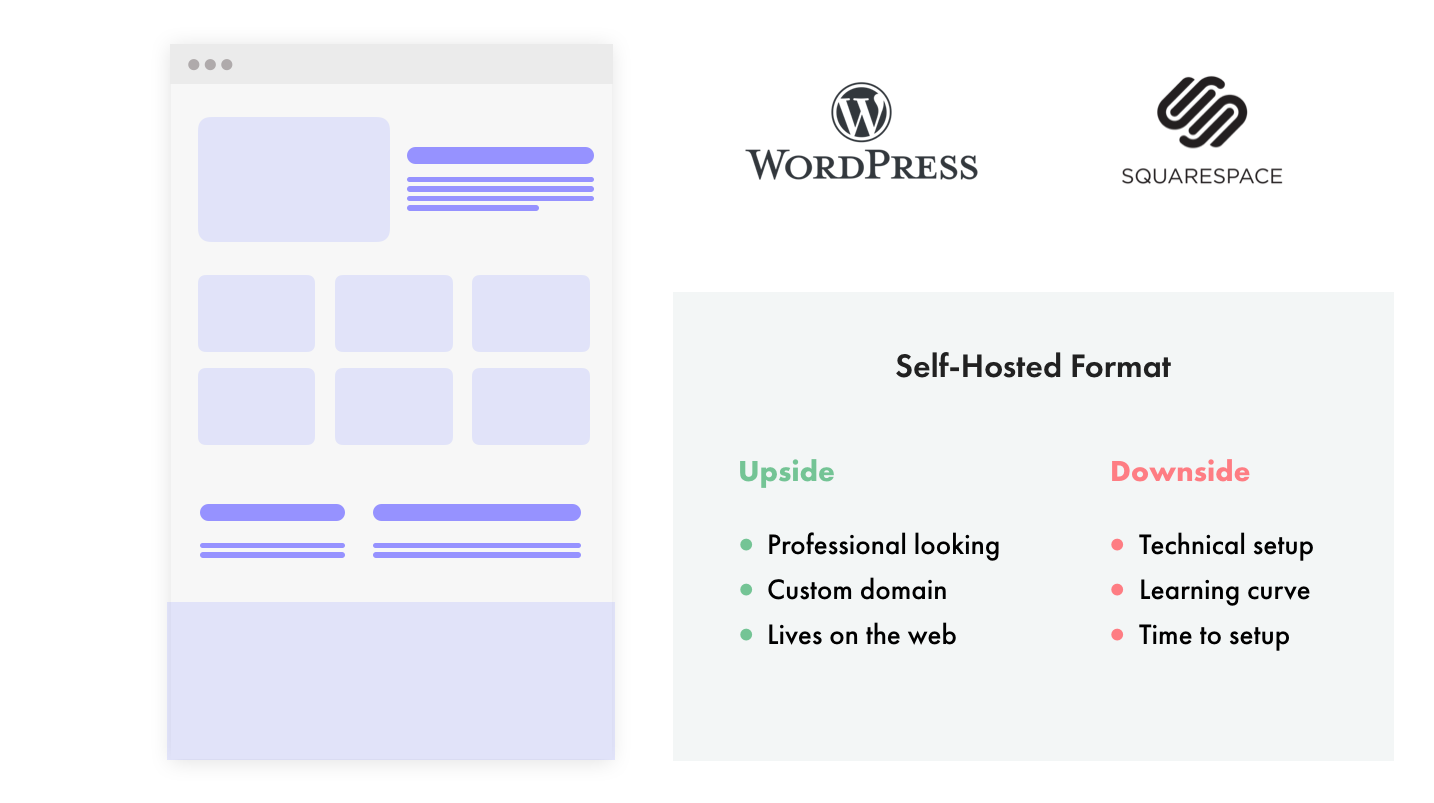
Option 1: Traditionally, you can self-host your portfolio on a CMS like WordPress, Squarespace or Ghost:

The upside: You will have your very own, professional website with custom URL to link to when submitting your design portfolio and perhaps for use on printed materials like business cards.
The downside: There is a lot of technical setup (and potential monetary cost) involved in building, hosting and deploying your site and without prior experience, the learning curve may be high and delay you in actually completing your website.
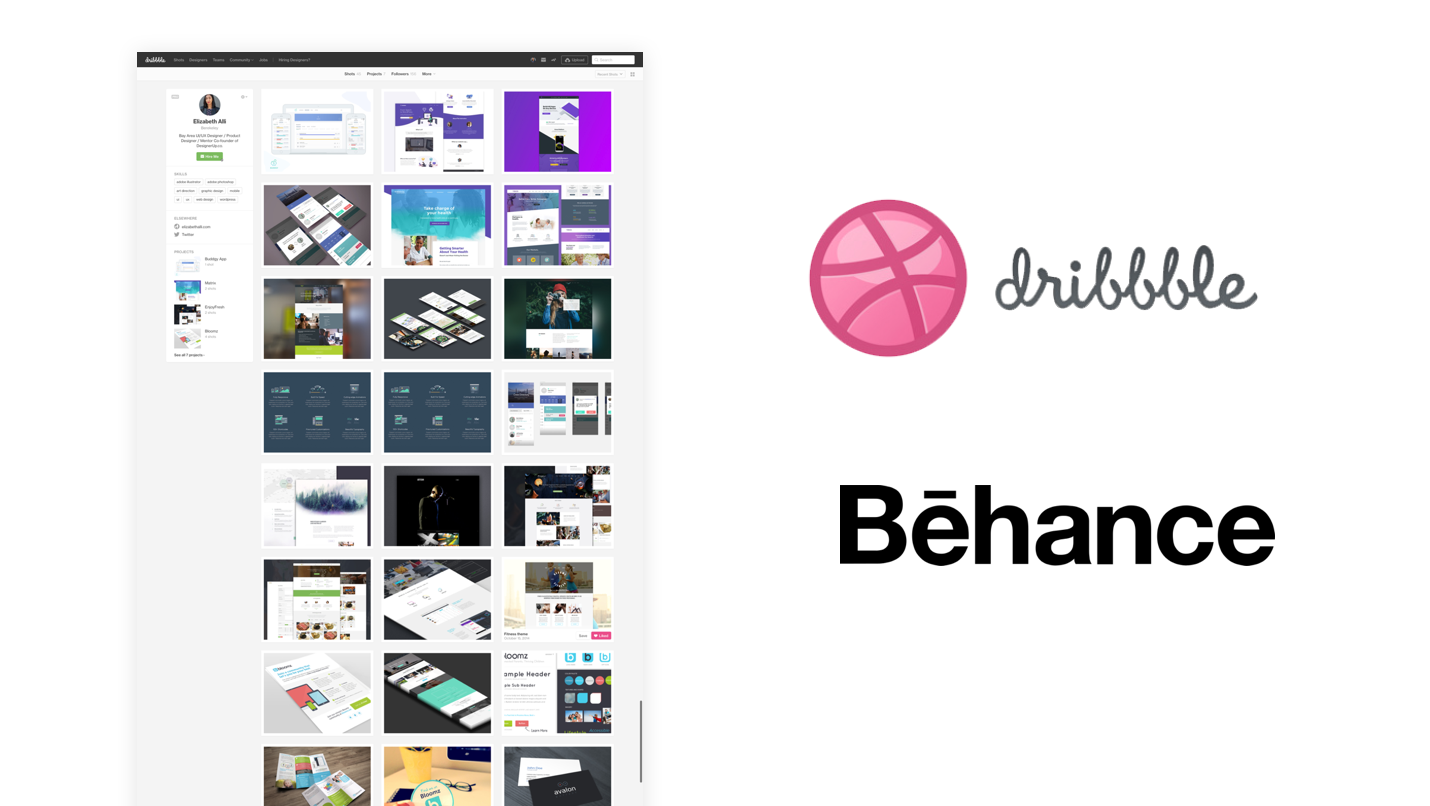
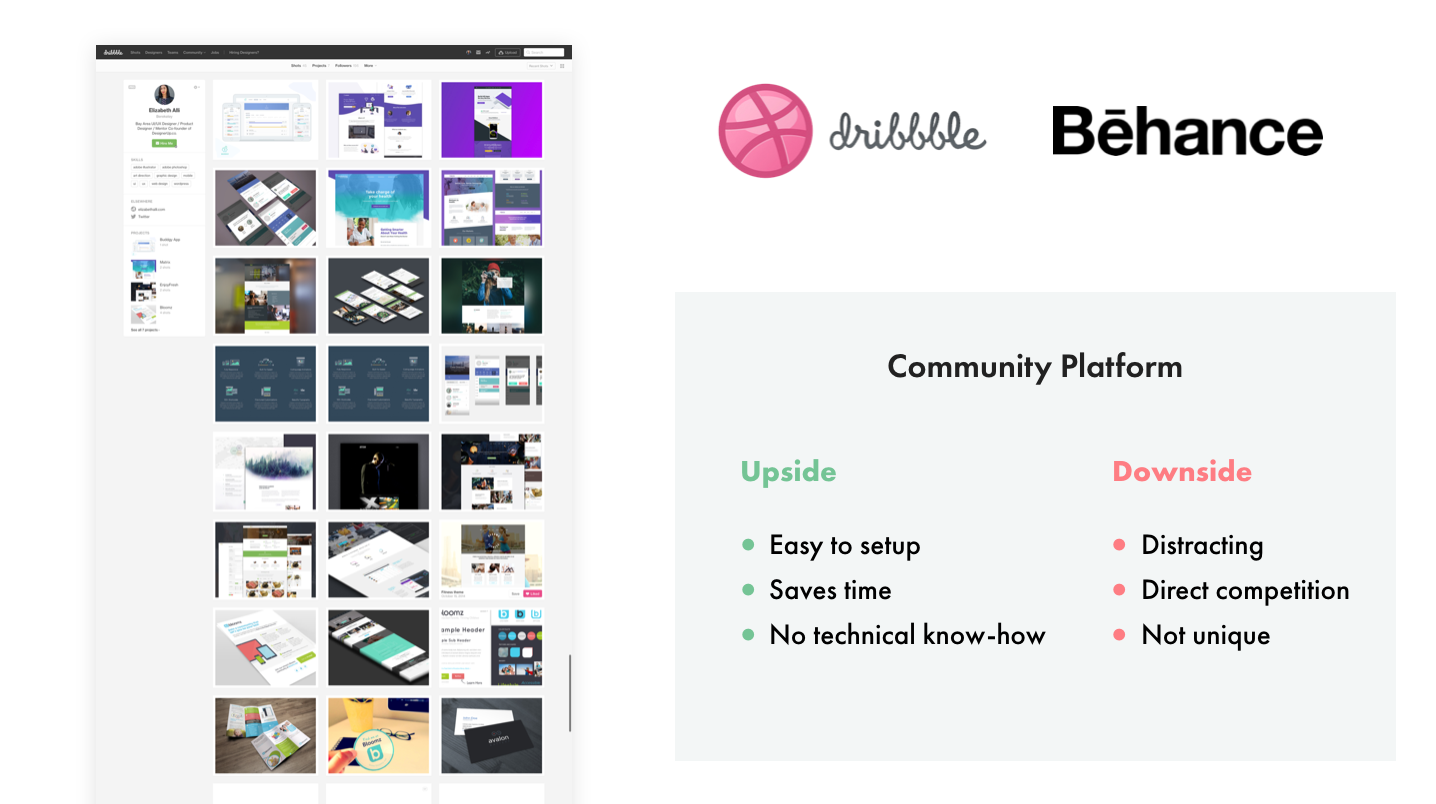
Option 2: Another option is to use a community platform like Behance or Dribbble:
The upside: It’s easy to set up and you don’t need any technical know-how to do it.
The downside: It can be distracting when you are putting your work up directly adjacent to that of others in your field as it increases the potential for clients or recruiters to click elsewhere. Also the design of your portfolio isn't unique since it's laid out the same for everyone on the platform.
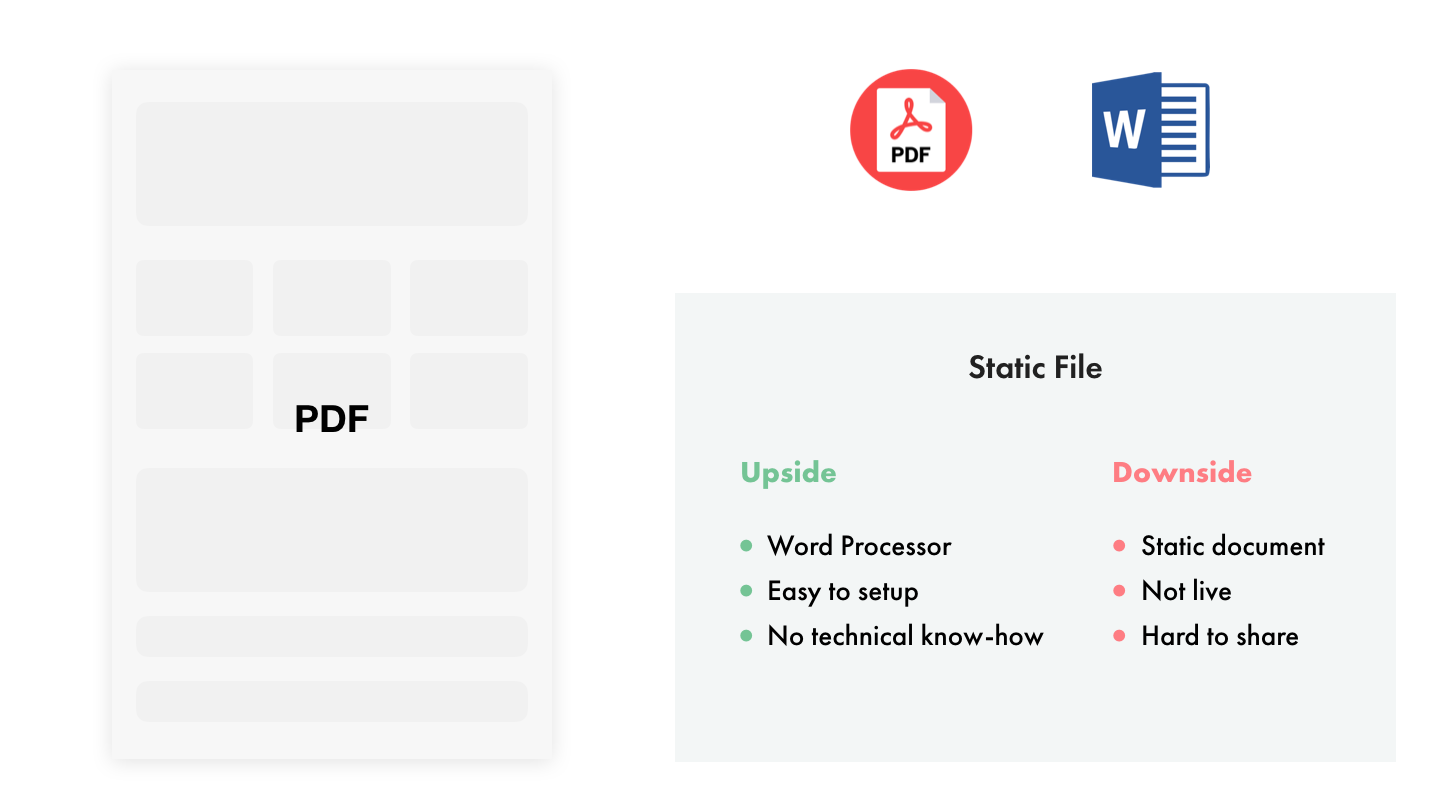
Option 3: You can also settle for a simple PDF or Word doc:
The upside: All you need is knowledge of a word-processing program, it’s fairly easy to format and there’s no technical overhead.
The downside: The result is a static document, so it’s not interactive, it doesn’t live online and it can be hard to share over email.
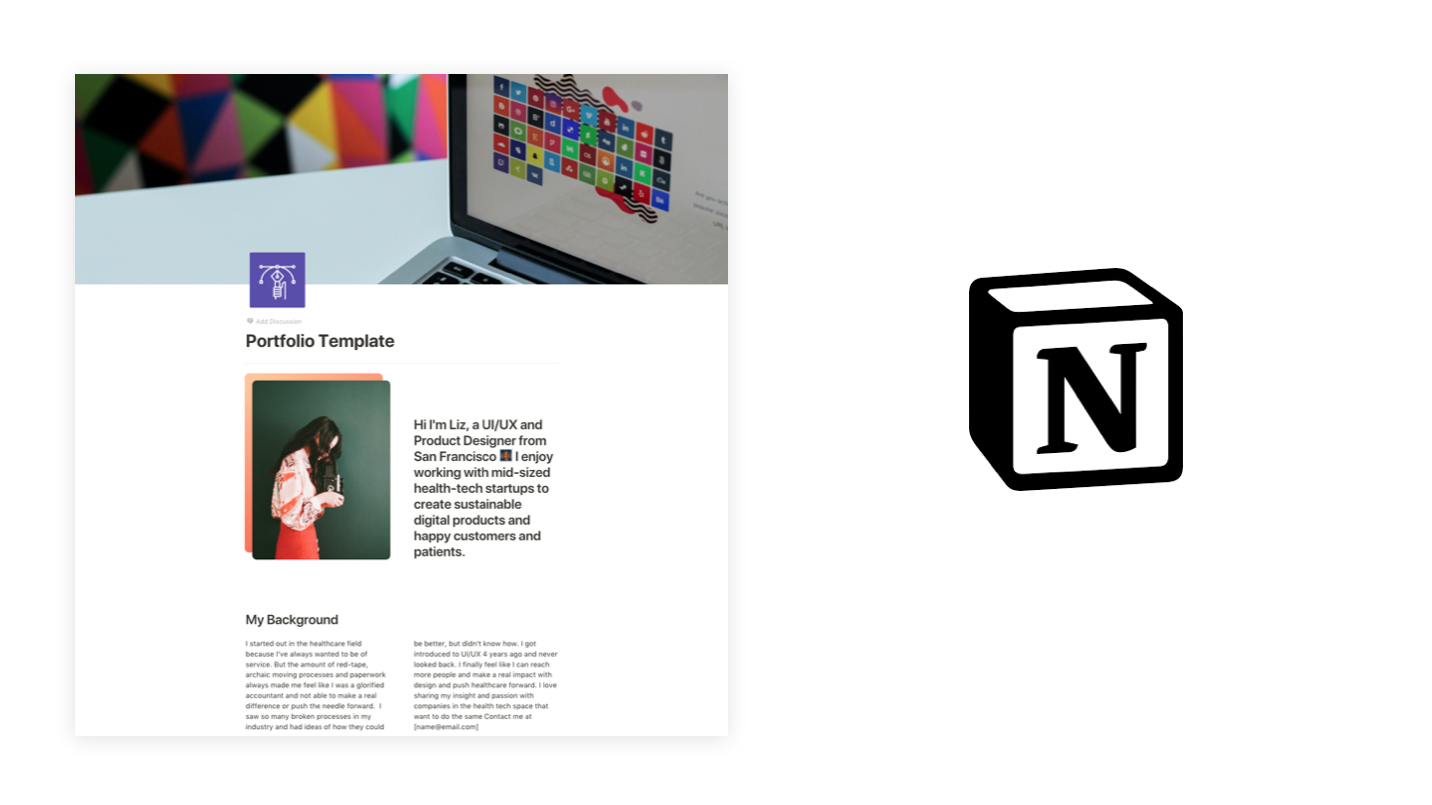
Option Awesome:
The final option is something you may not have thought of before. Notion app isn’t only good for collecting your user research and organizing and managing your design projects. You can actually create your portfolio and case study pages and publish them directly to the web like you would any other webpage! It's even crawlable by search engines.
Why Choose Notion?
Quick solution - It's great for beginners or anyone that doesn’t want to get invest the time, money or effort into the technical stuff and just wants to focus on the content and getting their work out there.
It’s online - You can publish pages to the web the same way you would publish any website and pages can be indexed by search engines.
Interim solution - This can be something you can use to plan your website or to use while you're building your main site elsewhere. You can even export the Notion pages as HTML and turn them into a website when you’re ready!
Targeted approach - I always tell our DesignerUp students to be very focused on the content they add to their site or PDF presentation. Having specific portfolio or case studies instances that align with the roles you are applying for is far more effective than having a one, single very generalized one. Having pages that you can easily duplicate makes this super simple to do!
Interactive - You can actually embed interactive prototypes, videos and links without fussing with code.
PDF export - If you still want that nice static PDF you can export that too with just one click.
I’m going to go through exactly how you can set up your Notion portfolio below. If you'd prefer to consume this content in video format, check out my walkthrough video below.
You can download all of these pre-made Notion templates here and follow along!

Landing Page
To setup your 'landing page', add a page [+] from the left sidebar. The name of your page becomes the title of the landing page. To change the hero image, hover over the top of the page to bring up the context menu that allows you to choose an image. You can either upload your own, paste a link from the web or my personal favorite select something from Unplash; a royalty free image repository. You can customize the page icon/avatar by clicking on it to bring up the selection menu.
Next, you can add in your introductory content. As is customary, I've started out with an image, that I designed myself in Sketch, and an introductory blurb about me.
Columns
You'll notice that my photo and blurb are set in a 2 column layout. Doing this inside of Notion is pretty easy. Just add in your content as you normally would in a vertical fashion (I've turned mine into an H1 Heading by highlighting it to bring up the text options). Then, when you're ready, just use the dotted icon to the left of the block to drag and drop your text block next to your image (look for the blue vertical or horizontal line to indicate the drop zone). Once dropped, you can hover in between the two columns and slide left or right to adjust the spacing.
The same can be done for the text blocks to create 2 column paragraphs, just write your text as you normally would and then drag and drop it into place. This works with more than 2 columns as well.
Case Study Gallery
To create my grid of case studies, I've used the 'Gallery Inline' block. You can access and insert any Notion block by using the [+] icon that appears to the left of your cursor when you hover on the left side of your page. To customize the information that gets displayed on your gallery cards, use the content menu icon (...) to create properties and toggle them on and off. For my example, I wanted Company, Designer, Tags and Timeline properties to be displayed. If you want the cover image of your page to be displayed on your card, you can select it from the Card Preview drop down. Finally you can choose from 3 grid sizes for your gallery (small, medium large) I've used large here.

Case Study Page
The case study page is your biggest opportunity to show what you can really do, what you’ve done, your process and your thinking. I spend a lot of time helping our DesignerUp students craft their narrative and the exact copy that they need to write. It’s different for everyone, some of us are coming from a non-design background and don’t have a lot of real projects or experience under our belts and so we need to take an approach of leveraging and framing the skills and traits that we do have as it relates to UI/UX. Some of us have more experience but need to be more targeted with our presentation and framing our story in the language of our viewers. If you’re interested in designing a full case study like the ones shown here and getting 1:1 mentorship custom crafting your UI/UX portfolio, have a look at our Product Design Master Course. But for now, let’s get back to focusing on the case study layout and setup.
You can create your individual case study pages by clicking on a card and then clicking on the 'Open as a Page' link at the top left to expand the page.
I've created a custom cover image for my first case study and then laid out my portfolio with the following sections:
Title and Project Details:
Using a combination of an 'H1' block, which I then highlighted and turned blue using the default text color options, and a plain old 'Text' block.
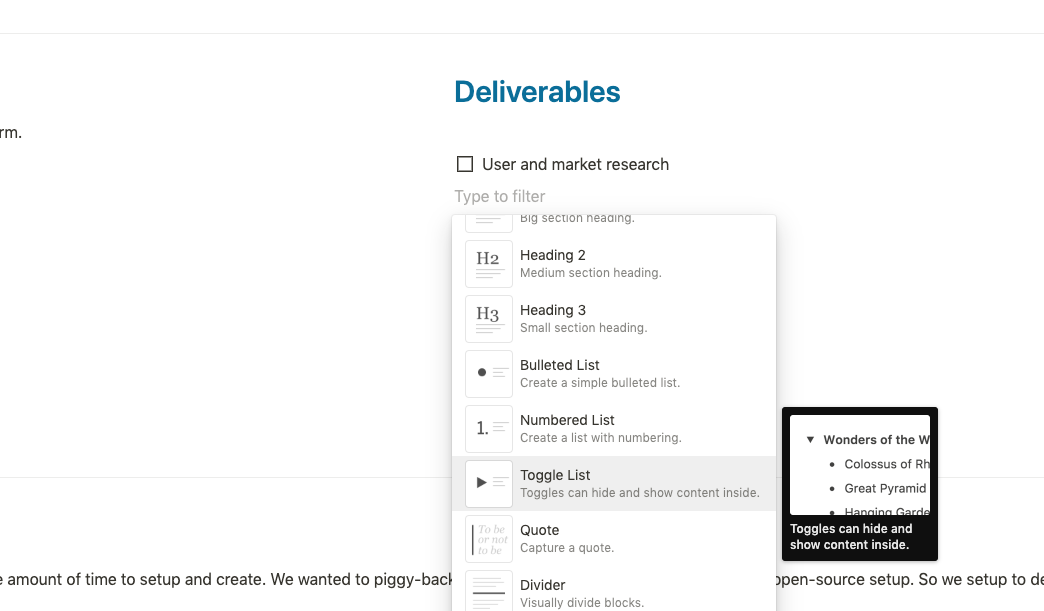
Deliverables:
This is a 'To-Do List' block that I've dragged over to sit in the column next to the Title and Project Details
Divider:
Dividers are a nice way to denote separate sections of your page. Insert the 'Divider' block to insert this separating line.
Discover Phase:
Inserting my title and description in the same as above, I've followed this up with a full-width image as a page separator. To do this, add an 'Image' block and then hover over the bottom right corner of the image until you see the opposing arrow icon, then drag your image out to the right as if you're trying to enlarge it to be as big as possible. It feels a little funny at first, but as soon as it's big enough it will just magically snap into the full-width layout (you may have to scroll back up a bit to see it).
You can then use the sizing bar at the bottom of the image to increase or decrease the height.
Solutions and Goals:
I like to lay out the project Solutions and Goals in a two-column layout by using the 'Call out' block. You can click on the icon on the left to bring up the emoticon menu in order to change it or upload your own. Use the 6 vertical dot icon to drag them over into columns if you choose.
UX Research
Mostly the same blocks as before but adding in a 'Toggle List' block here to organize and display my Qualitative and Quantitative research findings. The great thing about the Toggle List is that you can also add other blocks to it.

Inspiration and Mood Board
The little mood board I've created here is just another 'Gallery Inline' block but this time I've turned off all the properties so all you see on the cards is the cover image.
Prototype
Jumping over to another case study, one of my favorite features in Notion is the ability to embed your live, interactive UI prototypes from Invision. To do that, all you need is the link to the prototype that you've created in Invision which you'll insert using 'Invision' block. The viewer will be able to click through your entire prototype directly from your Notion page!
Testing and Feedback
Using the same drag and drop column technique as before, I've created some metric highlights and a few user testimonials to finish it off.

And that's it! If you want to export this to another format you can find that option in the context menu at the top right of your Notion workspace.
As you can see there is a limit to how much you can customize and 'design' the elements within Notion but those constraints are also what makes it so easy and quick to combine just a few different blocks into a very organized and powerful representation of your work and process.
Grab your very own copy of these templates here!

Remember, even more important than the layout or the format you choose to use for your portfolio is the content. So if you're interested in really mastering your UX/UI craft and building your case studies with an original product idea check out our Product Design Course.